- Show results for
- Share
How To Calibrate An Exposure Meter: A Step-By-Step Guide. Gossen Exposure Meters
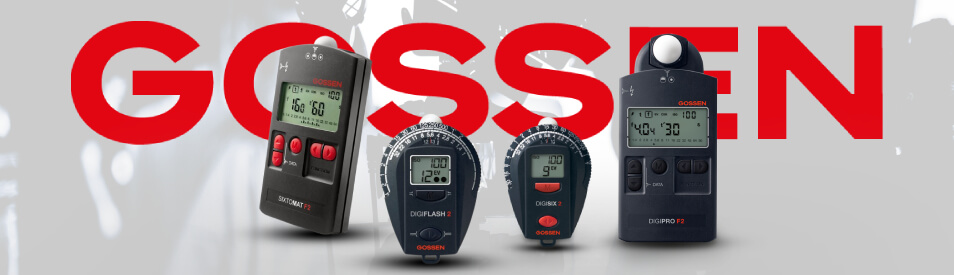
Table Of Contents
- Introduction
- Why Use an External Exposure Meter?
- Exposure Meter Calibration: Instructions
- Gossen Exposure Meters
- Conclusion
Introduction
What is exposure in photography? It is the amount of light that reaches the camera's sensor, creating visual data over a period of time (from fractions of one second to hours). Overexposure results in overexposed highlights and your image will look faded. If an image is underexposed, it will be dark and difficult to see.
Use an exposure meter to improve the exposure of your shots. Calibrating your meter is recommended in case it doesn’t initially show the expected values. In this article, we will explain how to do it. In addition, you will find out about Gossen exposure meters.
Why Use an External Exposure Meter?
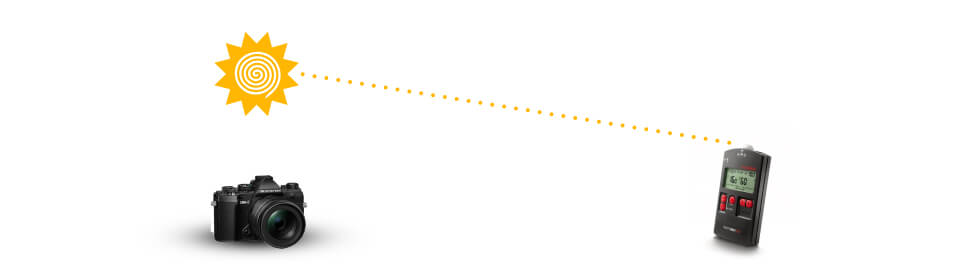
Nowadays, most cameras have a built-in exposure meter. It is designed to measure the light that is reflected by the object. The benefit of using an external meter is the measurement of incident light (that falls on the object). Such measurement prevents incorrect exposures related to the object.
However, like with many things and processes, there can be some difficulties. At first, the results may not be the best because the ISO specification of films/camera sensors can vary depending on the manufacturer or even different camera models from one manufacturer.
In addition, the deviation from the nominal value may be possible with the shutter speeds of the camera you use and the lens apertures. Other factors include the development of the film, the further processing of the RAW data, etc.
What is the solution? If you calibrate your exposure meter, you can factor in your equipment’s specific parameters, your workflow, and also personal preferences to make the most of your meter.
Exposure Meter Calibration: Instructions
How to calibrate an exposure meter? Follow the steps below!
STEP 1
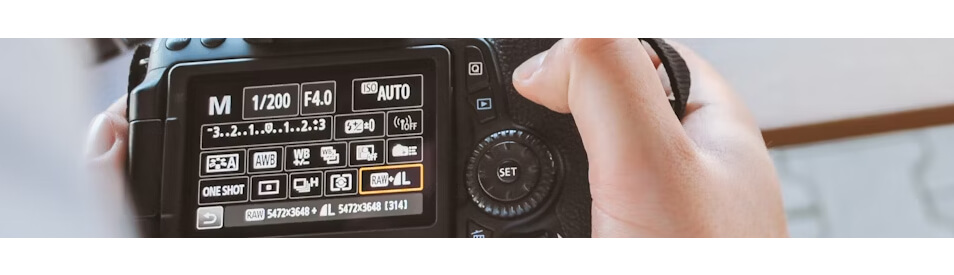
Ensure that both your external exposure meter and your camera are set to the same ISO value (for example, ISO 100). All correction values should be at 0.

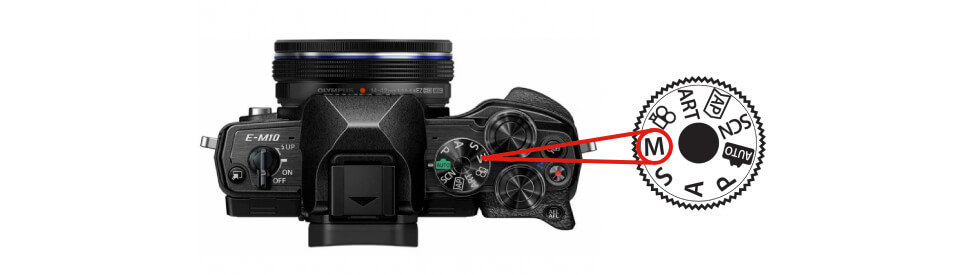
STEP 2
Switch your camera to manual mode and disable all functions that affect the exposure: ISO Automatic, Active D-Lighting, Exposure Compensation, HDR, and more.
STEP 3
Make sure that your subject has highlights, shadows, and midtones. Do not change the lighting conditions between the measurement & the recordings.

STEP 4
- On your external meter, set the incident light metering mode, with the white cap in front of the sensor, or the position on the probe activated. At the motif level, you measure in the direction of the incident main light & get a combination of time/aperture that should result in an exact exposure under this illumination.

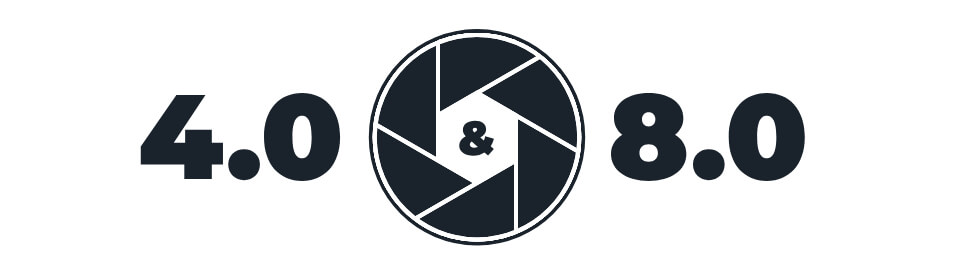
- Ensure the aperture is between 4.0 & 8.0 to prevent lens vignetting when it is open and to provide flexibility for under- or overexposure adjustments. An exposure meter supports this by the aperture selection mode, for the working aperture then the associated exposure time is determined.
- The direction of measurement. When the light is strongly directed, the measurement direction to the main light will typically lead to more dramatic illumination than that towards the camera. Try different variants and choose what works best for you!
STEP 5
- Manually transfer the aperture & shutter speed determined by your meter to your camera.
- Take the first shot with these values.

- Make a bracketing with under- or overexposure, and change the exposure value by 1/3, 1/2, or 1 step. Use a tripod for the image section to remain constant. If you have a digital camera, the 1/3 step is standard and the following series is recommended: -1, -2/3, -1/3, 0, +1/3, +2/3, 1. If you are an owner of an analog camera, only a 1/2 or 1 step is possible and as a rule, five shots are sufficient for the correction, so at 1/2 step a series of -1, -1/2, 0, +1/2, +1 is recommended. A great solution for analog photography is using slide film. Remember (or write down) which recording was taken with which correction. Your camera’s bracketing function will help you.

STEP 6
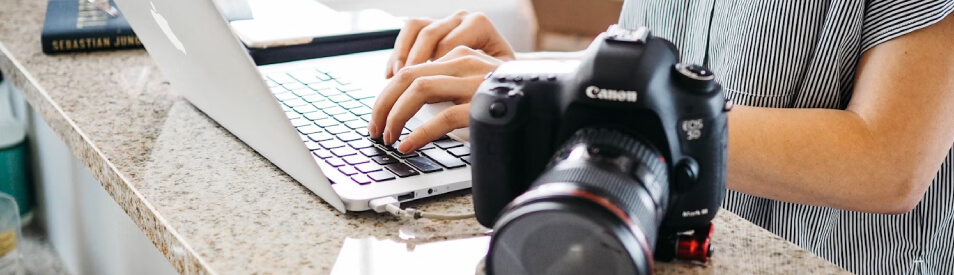
Assess the images directly if you use a digital camera. Make sure you download them to a PC with a calibrated monitor. It is important for the correct assessment. Open your image series in an editing program. If you have an analog camera, develop the film, and place the filmstrip on a light panel. Then, select the shot that in your opinion is properly exposed. Determine the correction value used for that shot.
STEP 7

Save the correction value that you determined in your meter. Now it is adapted to your equipment’s specific parameters, your workflow, and perception.
Keep taking pictures of different subjects and reassess them. Repeat the test for the different lenses you have to check if any additional correction factors are needed. It is also applicable if you change the film, for example.
Gossen Exposure Meters

If you are looking for an exposure meter for photography, Gossen is a great choice. It is a well-known and trusted name when it comes to exposure meters. Let’s take a look at popular Gossen exposure meters.
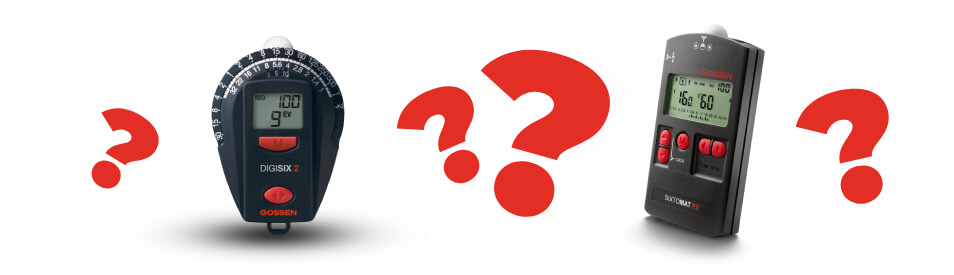
Gossen DIGIFLASH 2 & Gossen DIGISIX 2

Gossen DIGIFLASH 2 and DIGISIX 2 are lightweight and compact devices, each of them can enhance the capabilities of manually adjustable cameras by adding incident light measurement, which helps achieve better exposure for challenging subject contrasts. The DIGIFLASH 2 has a flash function, it is one of the smallest flash exposure meters you can find.
FEATURES
- Comprehensive metering methods
Incident & reflected light measurement.
- Flash control (DIGIFLASH 2 only)
Flash measurement with adjustable synchronization speed.
- Subject contrast control
Contrast display in 1/3 f-stop increments.
- Precision measurement & display
Exposure value is ascertained and displayed in 1/3 increments.
- Clear-cut display
All possible f-stop/shutter speed combinations are easy to view.
- Timer for time exposures
Adjustable timer (from 1 sec to 30 min).
- Camera bag temperature monitoring
Temperature measurement & min. - max. value storage.
- Useful reminders
Built-in clock with alarm.
- Measured value memory
Last measured value & function are retained.
- Individualized adaptation
Entry of equipment-specific correction values: ± 3 correction values in 1/3 increments.
- Diverse warnings
Battery level, over- or under-range.
Gossen SIXTOMAT F2
This exposure meter offers unmatched versatility and unparalleled performance.
The SIXTOMAT F2 is a perfect tool for amateurs with their studio flash kits, lighting professionals, and filmmakers. The device has advanced features and it is easy to use. It’s designed for both studio and outdoor use. The versatile SIXTOMAT F2 handles incident and reflected light measurements for both flash and ambient light, displays mixed lighting conditions and required multiple flashes, it also performs contrast measurements. Exposure values can be shown in full, 1/2, or 1/3 increments. With exceptional precision and reliable performance, the SIXTOMAT F2 can master all common lighting scenarios for analog & digital photography, and also for filmmaking.
FEATURES
- Comprehensive metering methods
Incident & reflected light measurement with adjustable measured value display in full, 1/2 or 1/3 increments.
- Wide measurement range
F-stop: 1.0 - 90, exposure time: 1/8000 s - 60 min.
- Precise measurement & display
Repetition accuracy of ± 0.1 EV, measured value display in 1/10 increments.
- Flexible ambient light measurement
Aperture or shutter priority pre-selection & exposure value display.
- Illuminance measurement
Determination of illuminance in lx / fc.
- Convenient subject contrast control
Analog contrast display in half f-stop values.
- Auto display illumination
For measured values less than 3 EV, the display is automatically illuminated for 5 s.
- Individualized adaptation
Entry or measurement within a range of ± 9.9 EV correction values in 1/10 increments.
- Comprehensive flash measurement
Flash exposure measurement w/ adjustable synchronization speed up to 1/1000 s, display of ambient light ratio, and multiple flash calculation.
- CINE function for filmmakers
Determination of f-stop for adjustable film speeds (8 - 96 fps), and the correction factor for sectors deviating from 180°.
- HD-CINE function for filmmakers
Determination of f-stop for adjustable frame rate (24 - 120 fps) corresponds to exposure time (1/24 s - 1/120 s).
- Ergonomic design
Compact size & one-hand operation.
- Diverse warnings
Battery level, over- or under-range.
- Auto shutdown
Most recent settings & last measured values are retained.
Gossen DIGIPRO F2
It is compact and offers excellent performance. This exposure meter is a perfect tool for professional photographers, amateurs, and filmmakers alike. The meter boasts advanced technology and user-friendly features. The DIGIPRO F2 is a versatile device. You can use it outdoors or in your studio. It measures incident and reflected light for both flash and ambient lighting, displays mixed lighting conditions and required multiple flashes, and also performs contrast measurements. The values are displayed in full, 1/2, or 1/3 increments depending on the setting you choose.
With exceptional precision and proven reliability, this exposure meter handles all common lighting scenarios for analog, digital photography, and filmmaking.
FEATURES
- Comprehensive metering methods
Incident & reflected light measurement with adjustable measured value display in full, 1/2, or 1/3 increments
- Precise measurement & display
Repetition accuracy of ± 0.1 EV, measured value display in 1/10 increments.
- Flexible ambient light measurement/li>
Aperture or shutter priority pre-selection & exposure value display.
- Subject contrast control/li>
Analog contrast display in half f-stop values.
- Comprehensive flash measurement
Flash exposure measurement with adjustable synchronization speed, display of ambient light ratio & multiple flash calculation.
- CINE function for filmmakers
Determination of f-stop for adjustable film speeds (8-96 fps) and correction factor for sectors deviating from 180°.
- HD-CINE function for filmmakers
Determination of f-stop for adjustable frame rate (24 - 120 fps) corresponds to exposure time (1/24 s - 1/120 s).
- Illuminance measurement
Determination of illuminance in lx / fc.
- Auto display illumination
For measured values less than 3 EV, the display is automatically illuminated for 5 seconds.
- Individualized adaptation
Entry or measurement within a range of ± 9.9 correction values in 1/10 increments.
- Ergonomic design
One-hand operation, compact housing w/ swivel head.
- Diverse warnings
Battery level, over- or under-range.
- Auto shutdown
Most recent settings & last measured values are retained.
Conclusion
Photographic exposure meters are used by amateurs and professionals. To make the most of your device, it is recommended to calibrate it and now, after reading this article, you know how to do it. You also found out about the benefits of Gossen exposure meters and hopefully, you can choose the right device that meets your needs. On Prime Buy, there is a wide range of Gossen meters and more. Shop with us!