- Show results for
- Share
Drywall Mudding Tips
Drywall (a construction which is made of non cracking material gypsum) is an important part of building/repairing the house. Nowadays, many walls and ceilings are made of drywall, or as it is also called “wallboards”, in the USA. It took so much time to lay the foundation that will keep paint or wallpapers on the walls. Today, you can set the drywall with ease and it will take less time. You can find out tips and tricks of basic techniques for taping and mudding drywalled room.
Step 1: You need to get different types of equipment before the drywall process begins:
|
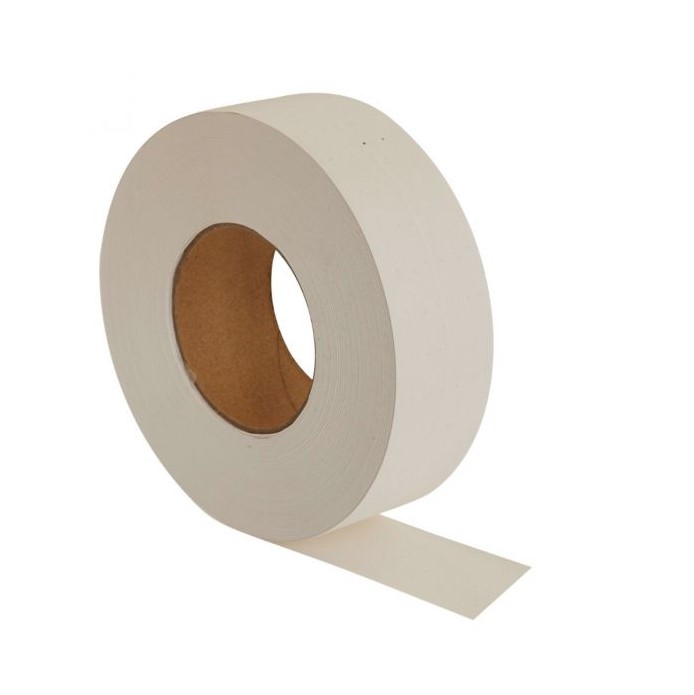
Paper tape |
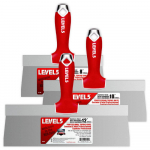
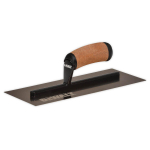
Trowel or Taping knife |
Finishing trowel knife |
|
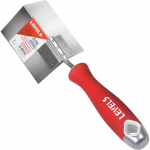
Corner knife |
|
|
|
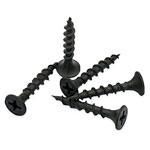
1-5/8" Drywall screws |
|
Respirator |

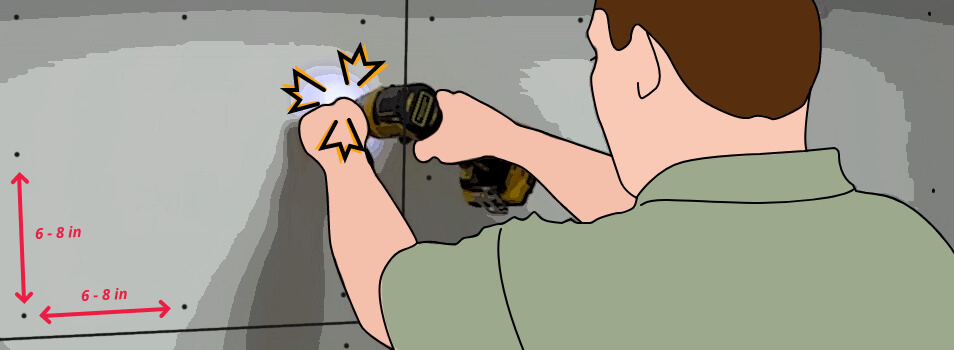
Step 2: Preparing the drywall
• Be sure that the drywall is tied to the wall correctly. Drywall should be fixed to the wall it coats, every 6 to 8 inches along the length of each stud of the wall. Drywall screw guns are the easiest equipment to work with. Don’t litter/ dirt with a drill or power screwdriver. Buy a drywall driver for drywall applications that are fixed to the end of your drill. These equipment ideally mill every screw when you drive them;
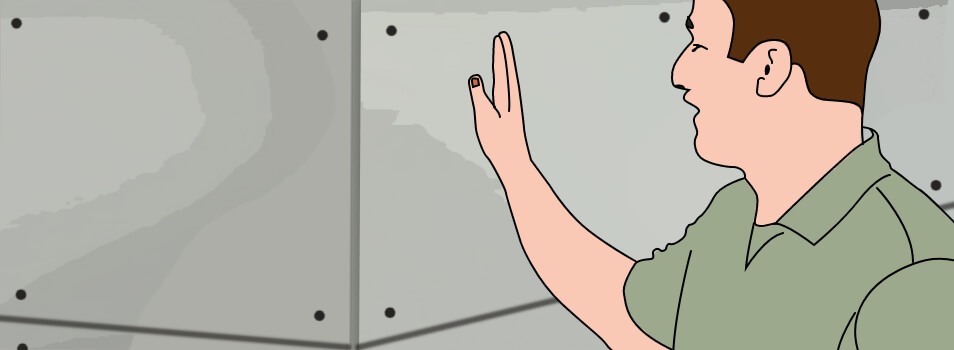
• Check if your screws are accurately milled. You need the screws to be accurately dipped but not split the paper coating of the gypsum;
• Drive the blade of the drywall finishing knife over the screws for sure that any are stranding out. Pull out, drill any screws that are standing out even a bit;
• Escape drywall nails. You can use them just to fix drywall blocks and then to tie them with screws;
• Drywall blocks should face at cone-shape and be more than 1⁄8 to 3⁄16 inch (0.3 to 0.5 cm) apart;
• Drywall blocks should meet as tapered edges and be no more than 1⁄8 to 3⁄16 inch apart;
• Don’t worry about deep holes - any hole will be topped up with a setting-type joint compound;
Step 3: Applying the first layer
• You should know that you are going to put several layers;
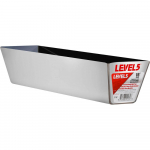
• Prepare the mud. There are two types of mud. Dry mix is a mud that needs to add water or you can purchase ready-mixed mud.
• Take enough mud for the drywall. You should understand that one gallon of mud is used for 100 square feet of drywall.
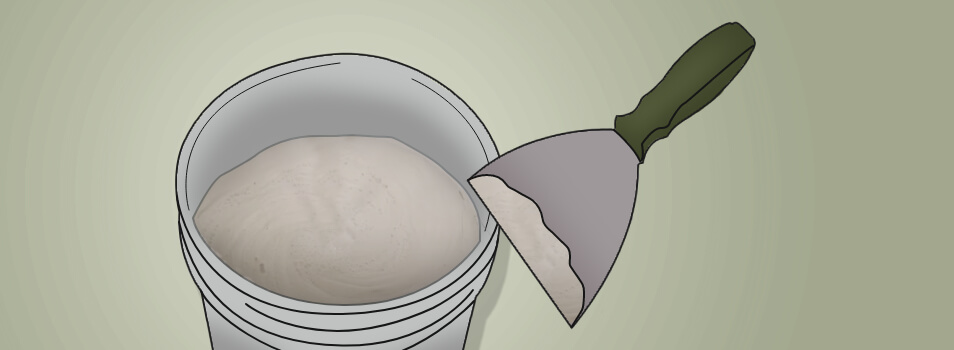
• Choose the right trowel knife. You need a knife with smooth edges.
• The first layer should be wetter than the other layers. That’s why, mix the mud with a little amount of water.
• Take quite a lot of mud into the hole between the drywall blocks. Don’t worry, you're going to keep extra mud away later, it’s better to take much than little.

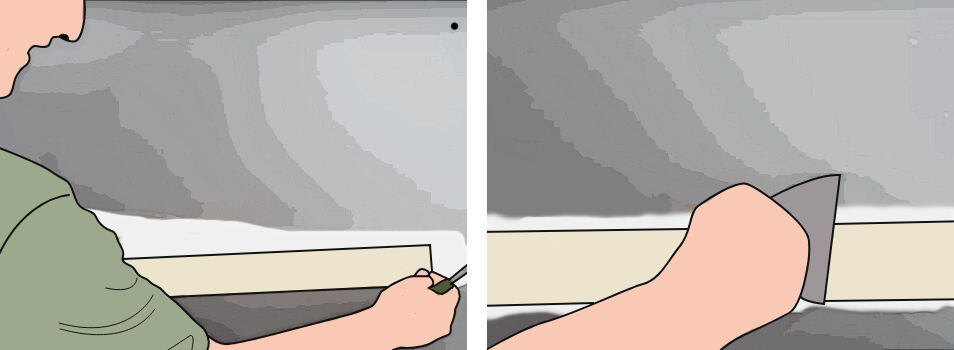
• When all holes are filled, get the paper tape. Cut it to the length of hole. You can soak the tape in the water to make it easier to work with and it will help keep air bubbles away under the paper taped and mudded blocks’ holes.
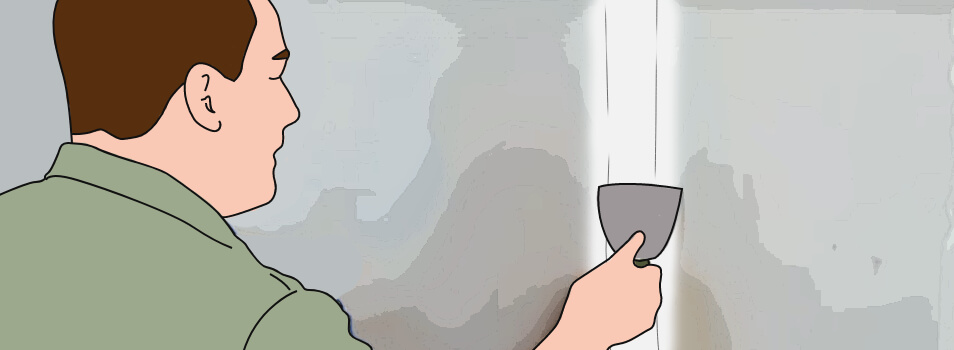
• Fix the paper tape with the trowel knife, hold the knife at 25° angle and press it into the mudded blocks’ holes.
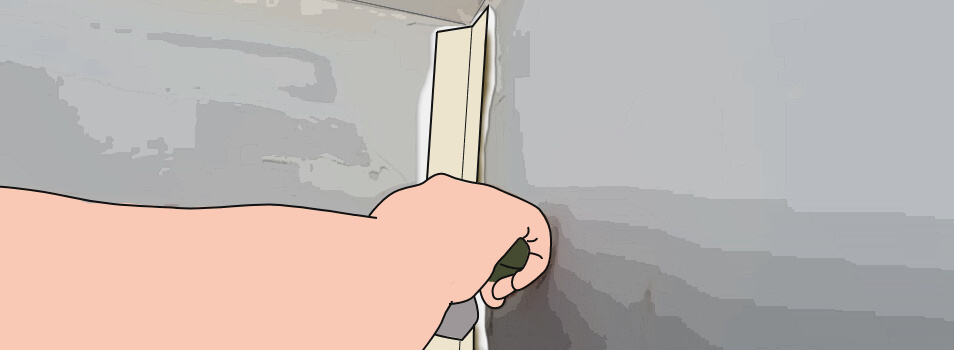
• Fix the paper tape to the inside corners. Cover at least 2 inches of each side of the corner hole with mud and then fix the paper tape with the trowel knife.
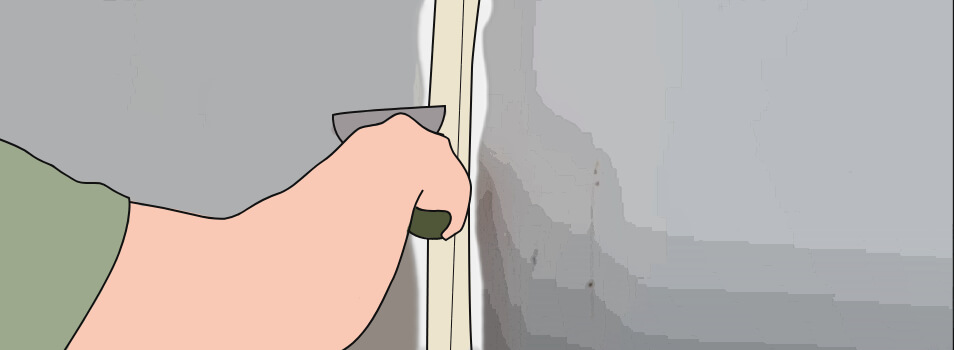
• Cover the outside corners with mud. Use a trowel knife to get the right and smooth layer.
• Let everything dry for a night.
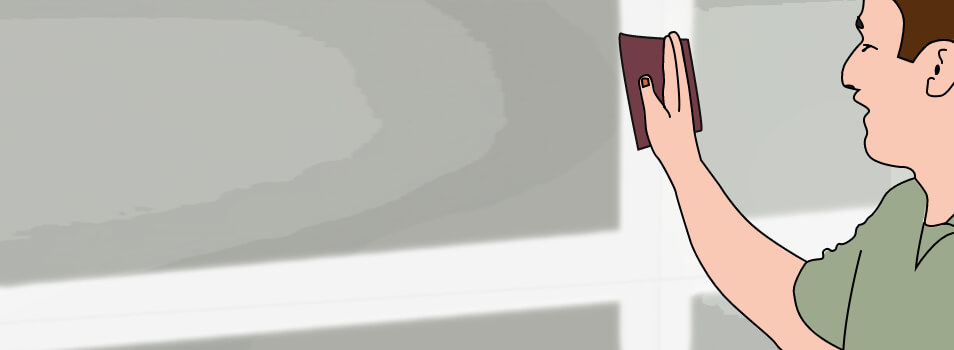
Step 4: Sanding the first layer
• Check the first layer to be completely dry. Wet mud has a grey color, dry mud is white.
Note* Use a respirator while sanding, there's going to be a lot of white sand in the air, and it's dangerous to breathe.
• With the trowel knife scrape all the burrs, it will be easier to sand after that.
• You don’t need to sand on a smooth surface, just find the rough areas and sand smoothly.

Step 5: Applying the other layers
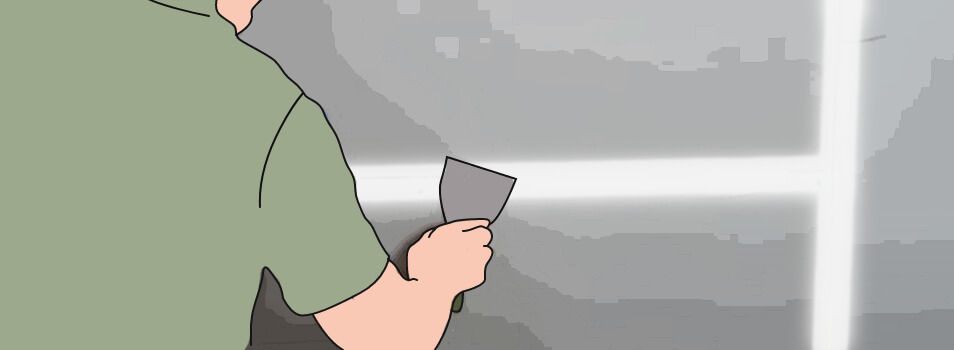
• You don’t need to make a layer as watering as the first was. You need to get a normal consistency of the mud for all the subsequent layers. Applying the second layer you need to cover angles, that’s why you need the trowel knife placed on the hole at 90* angle.
• Keep it dry for a night again. It needs time before applying more layers of the mud. After that repeat the sanding and be ready for mudding the next layer.
• When you muddle the third layer, be sure that the second is completely dry and repeat all the steps with drying and sanding.
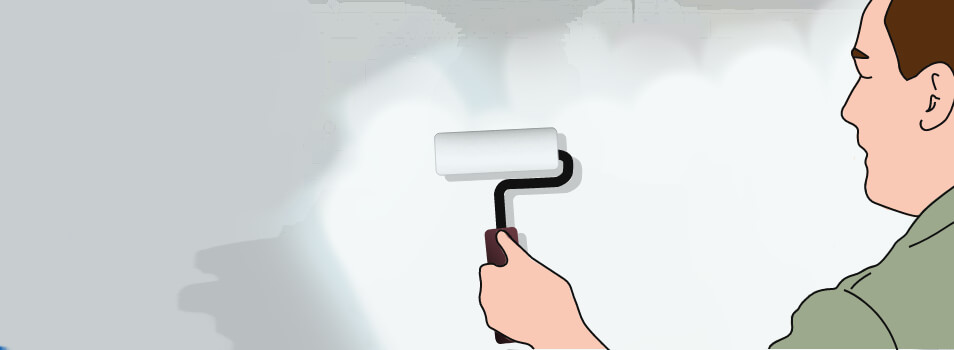
Step 6: Finishing the drywall
• Mudding is not the only process of finishing the drywall, the final push is priming and painting.
• If you want to paint a smooth layer over the drywall, you need to prepare the drywall before the painting process. You should check that all the areas are smooth. If not, you need to sand the areas again. After that you need to apply the layer with primer to make the painting layer smooth. Primer will give the walls a polished look. After that you can paint drywalls.