- Show results for
- Share
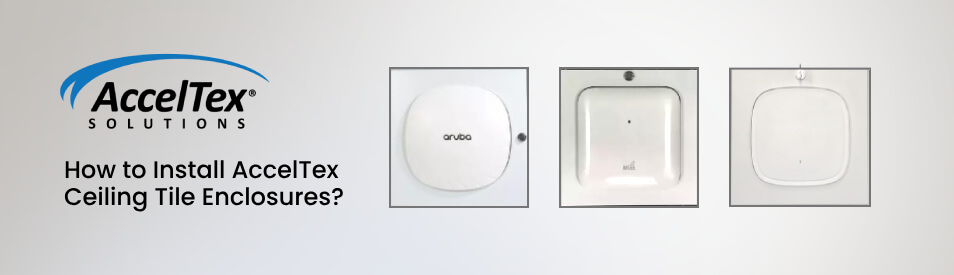
How to Install AccelTex Ceiling Tile Enclosures?
Contents
- Introduction
- The AccelTex ATS-CT-XXXX-2x2 Ceiling Tile Enclosures: Installation Guide
- Final Thoughts
Introduction
AccelTex Solutions offers best-in-class products for Wi-Fi & wireless networks.
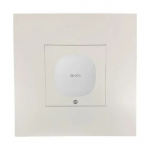
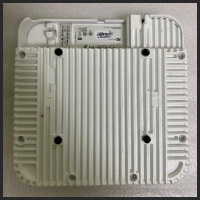
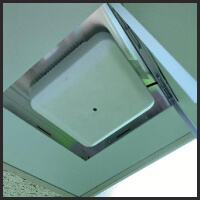
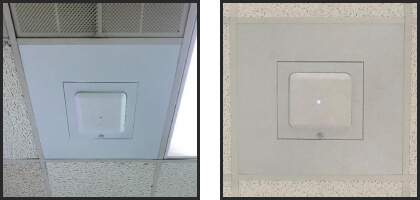
AccelTex ceiling tile enclosures are designed to secure and protect your access point within a ceiling tile grid. These enclosures are made using high-quality materials. They are built to last.
In this article, you will find out how to install your AccelTex ATS-CT-XXXX-2x2 ceiling tile enclosure.


The AccelTex ATS-CT-XXXX-2x2 Ceiling Tile Enclosures: Installation Guide
Here are a few simple steps to help you install your ceiling tile enclosure.
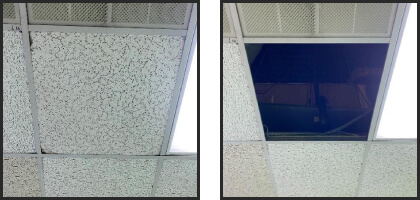
1. Locate and tilt the designated ceiling tile diagonally to remove it.
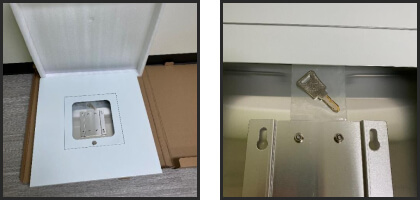
2. Open the ceiling tile enclosure box and take the key from the access point backplate for future use.
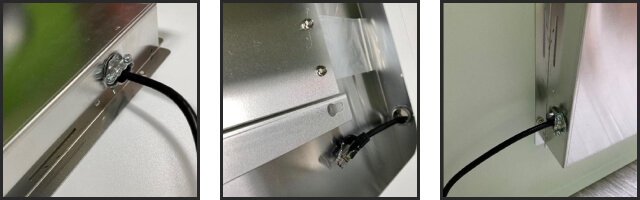
3. Find the cable connector hole and then loosen the screws until there's enough space for the RJ45 cable.
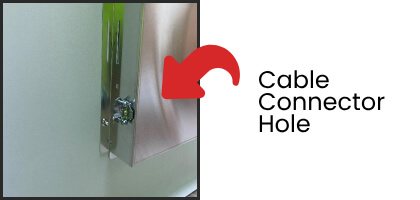
4. Push the RJ45 cable through the cable connector hole.
5. Tighten the screws of the cable connector hole until snug against the cable. Make sure that there’s enough slack to reach your access point. In addition, avoid overtightening the screws to prevent cable damage.
6. Turn the enclosure over. Each enclosure has 4 secure mounting points. Use the 12-gauge wire (or better) for fastening the enclosure to the ceiling structure for support once positioned within the ceiling tile grid.
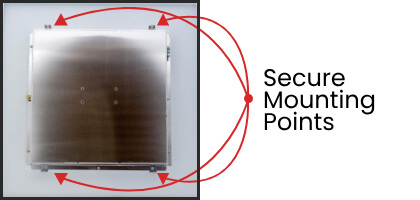
7. Put the AccelTex ceiling tile in place. While working above the ceiling, route the Ethernet cable to the enclosure through the cable entry point in the ceiling tile. Then, connect the cable to the 10/100/1000 PoE port on the AP. Secure the 4 support points for the ceiling structure using the 12 AWG wire (or better).
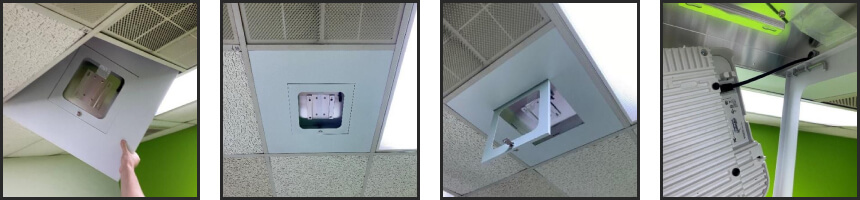
8. Align the studs on the back of the AP with the slots on the access point backplate of the ceiling tile enclosure.
9. Insert the studs of your access point into the backplate slots and slide forward until the access point is seated & secured. Optionally, for easier installation, you can push up an adjacent ceiling tile to apply downward pressure on the ceiling tile enclosure.
10. Close & relock the access point panel on the ceiling tile enclosure. Then, the network can be tested.
Final Thoughts
Installing a ceiling tile enclosure is not difficult if you follow the instructions. Hopefully, the step-by-step guide above will help you with this task.
On Prime Buy, there are many AccelTex products to choose from, for example, AccelTex antennas (including patch antennas like AccelTex ATS-02625 (former catalog # ATS-OP-2456-477-10MPC-36)), enclosures, UPS battery backup solutions, PoE switches, PoE injectors, Accelerator Site Survey Battery Pack solutions (for long-lasting PoE power), Ethernet surge suppressors, mounts (including Aruba AP suspended ceiling tile enclosure mounts), cables, etc. Find what you need, shop with us!